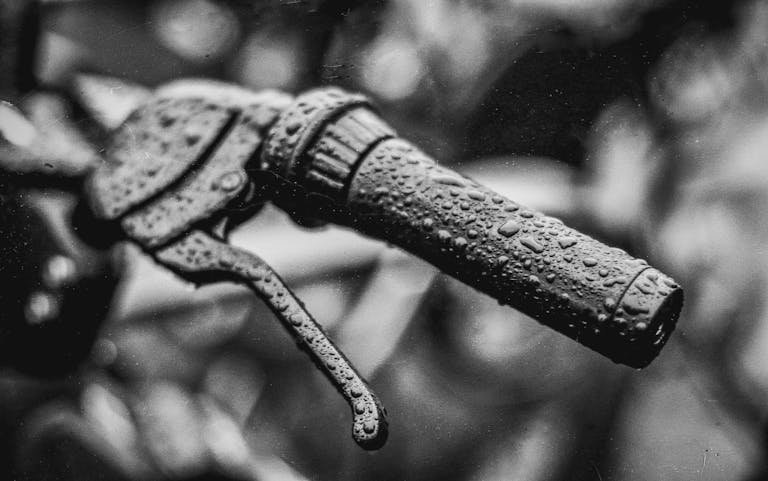
How Do You Adjust Bike Brakes? A Step-by-Step Guide for 2024
Properly functioning bike brakes are essential for safety and performance. Well, how do you adjust bike brakes? Whether you’re an all in cyclist or a weekend rider, knowing how to adjust your bike brakes can save you time and money while enhancing your biking experience.
Did you know poorly adjusted brakes are one of the leading causes of bike-related accidents? Let’s dive into this easy-to-follow guide to ensure your brakes are road-ready!
Why Adjusting Your Bike Brakes Is So Important
When it comes to cycling, your brakes are literally the difference between smooth control and potential disaster. Properly adjusted brakes ensure your safety, improve your bike’s performance, and save you money in the long run. Neglecting them, on the other hand, can lead to wear and tear and even accidents.
Safety and Control
Your brakes are your main tool for controlling speed and navigating safely. Whether you’re cruising down a steep hill, riding in traffic, or approaching an unexpected obstacle, well-adjusted brakes give you confidence and precision. If they’re too loose, you risk delayed stopping. If they’re too tight, the wheels might lock up, making the bike harder to control. Either way, safety takes a hit.
I learned this the hard way during a downhill ride when my rear brake wasn’t responding. The panic of relying on one brake to stop me in time didn’t feel good. I never skipped maintenance after that.
Extending the Life of Brake Pads
Proper adjustment doesn’t just improve safety—it also keeps your brake pads in good condition. Misaligned brakes cause uneven wear on the pads, meaning you’ll have to replace them more often. Regularly checking and tweaking the alignment ensures even contact with the wheel, maximizing the life of the pads.
Think of it as saving money in the long term. A quick adjustment now can prevent you from shelling out for replacements later. And let’s face it—no one loves the surprise of a worn-out brake pad mid-ride.

Signs Your Brakes Need Adjustment
Your bike will let you know when it’s time for a tune-up. Here are some common red flags:
- Squeaking or grinding noises: These often mean your pads aren’t making proper contact with the rim or rotor.
- Poor braking response: If you’re pulling the lever all the way and barely stopping, it’s time to check the tension.
- Uneven pad wear: Visible wear on one side of the pad is a surefire sign your brakes are out of alignment.
- Vibration or wobbling: This could indicate that your rotor or rim is out of true, affecting brake performance.
Adjusting your brakes isn’t just about a smoother ride—it’s about staying safe, extending the life of your components, and keeping your bike in top shape.
Check them regularly, and don’t ignore the signs that they need attention. Trust me, if you ever wondered how do you adjust bike brakes, your future self (and your wallet) will thank you.
Tools You’ll Need to Adjust Bike Brakes
Adjusting your bike brakes isn’t rocket science, but having the right tools makes the job easier and ensures you get it done properly. Whether you’re tackling a quick tweak or doing a full brake overhaul, a few essential tools and a well-prepared workspace will make the process smooth and frustration-free.
Common Tools
For basic brake adjustments, you’ll need:
- Allen wrenches (hex keys): Most brake systems use 4mm, 5mm, or 6mm bolts for adjustments. These are non-negotiable tools for loosening and tightening brake calipers or pads.
- Screwdriver: Depending on your bike’s setup, a Phillips or flathead screwdriver may be needed for fine-tuning pad alignment or barrel adjusters.
- Pliers: These come in handy for holding brake cables steady while tightening bolts or trimming frayed ends.
These tools are affordable and probably already sitting in your toolbox. If not, any local hardware store will have what you need.
Optional Tools for Precision
If you want to take your brake maintenance game up a notch, consider adding these to your kit:
- Cable cutters: Regular scissors won’t cut it—literally. Cleanly trimming brake cables ensures they don’t fray, which keeps your brakes responsive and clean-looking.
- Bike repair stand: This isn’t strictly necessary but makes a world of difference. A repair stand holds your bike steady and elevates it to a comfortable height, freeing your hands and making adjustments more precise.
While optional, these tools can save you time and frustration, especially if you plan to do regular maintenance.
Preparing a Safe Workspace
Before diving into your brake adjustment, set up a safe and organized workspace. Here’s what to consider:
- Flat, stable surface: Ensure your bike won’t tip over. If you don’t have a repair stand, lean it securely against a wall or place it upside-down on a soft surface.
- Adequate lighting: Good visibility is crucial for spotting misalignments or subtle wear.
- Tool organization: Lay out all tools within reach so you’re not scrambling mid-repair.
- Clean area: Dirt and debris can interfere with your adjustments, so start with a clean workspace.
Having the right tools and workspace is half the battle when adjusting bike brakes. With a few essentials like an Allen wrench and pliers—and maybe a repair stand for extra precision—you’ll be ready to fine-tune your brakes like a pro.
Preparation is key, so take a few minutes to organize before you start. Take it from me, your future rides will be smoother (and safer) because of it!
Step-by-Step Guide to Adjusting Rim Brakes
Adjusting rim brakes might sound intimidating at first, but it’s a simple process once you know the steps. With a little patience and the right tools, you can have your brakes working smoothly and safely in no time.
Step 1: Check Brake Pads for Wear and Alignment
Start by inspecting the brake pads. If they’re worn down to the grooves or unevenly worn, it’s time to replace them. Also, check the alignment of the pads against the rim. They should contact the rim squarely and evenly without touching the tire. Smearing or rim discoloration should be investigated.
If the pads are slightly glazed (shiny), a light sanding can restore their grip. But if they’re too thin, don’t try to salvage them—replace them for your safety.
Step 2: Loosen and Realign the Brake Pads
Use an Allen wrench to loosen the bolt holding each brake pad. Adjust the pad so it aligns with the rim’s braking surface. Ensure the entire pad makes even contact when the brakes are applied, without extending past the rim edge or hitting the tire.
This step is all about precision. A misaligned pad can cause poor braking performance or wear down your tire, so double-check the placement before tightening the bolts back up.

Step 3: Adjust Brake Cable Tension Using Barrel Adjusters
Locate the barrel adjuster, usually found near the brake lever or on the brake caliper itself. Turn it counterclockwise to tighten the cable if the brakes feel loose or don’t engage quickly enough. Turn it clockwise to loosen the cable if the brakes feel too tight or the wheel rubs against the pads.
If the barrel adjuster can’t give you enough tension, you may need to manually adjust the cable. Loosen the anchor bolt holding the brake cable, pull it tighter or let out some slack, and retighten the bolt.
Step 4: Test Brake Lever Response and Make Fine Adjustments
Squeeze the brake levers to test how the brakes feel. The levers should engage firmly before being pulled halfway to the handlebar. If they feel too spongy or tight, make additional adjustments with the barrel adjuster or cable tension.
Spin the wheel to ensure it moves freely without rubbing against the brake pads. If it doesn’t, fine-tune the pad alignment or tension.
Adjusting rim brakes takes practice, but it’s an essential skill for any cyclist. By following these steps, you’ll not only improve your bike’s performance but also ensure your safety on every ride. And remember, if something doesn’t feel right, take your time—it’s better to double-check than to ride with faulty brakes.
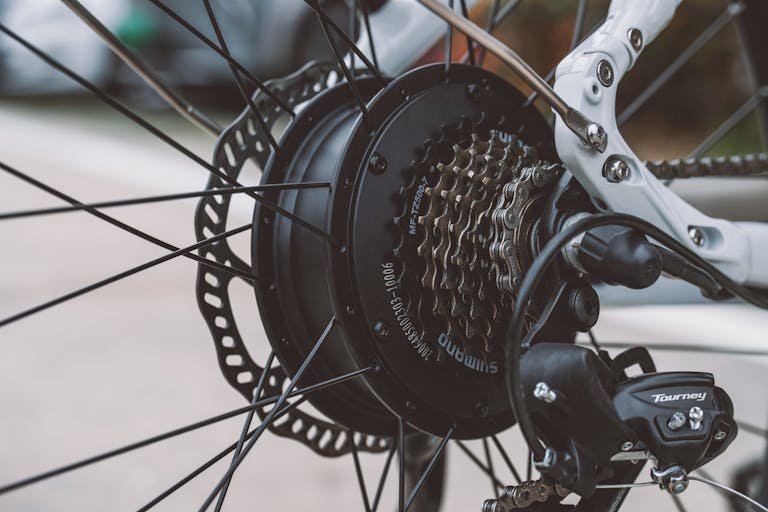
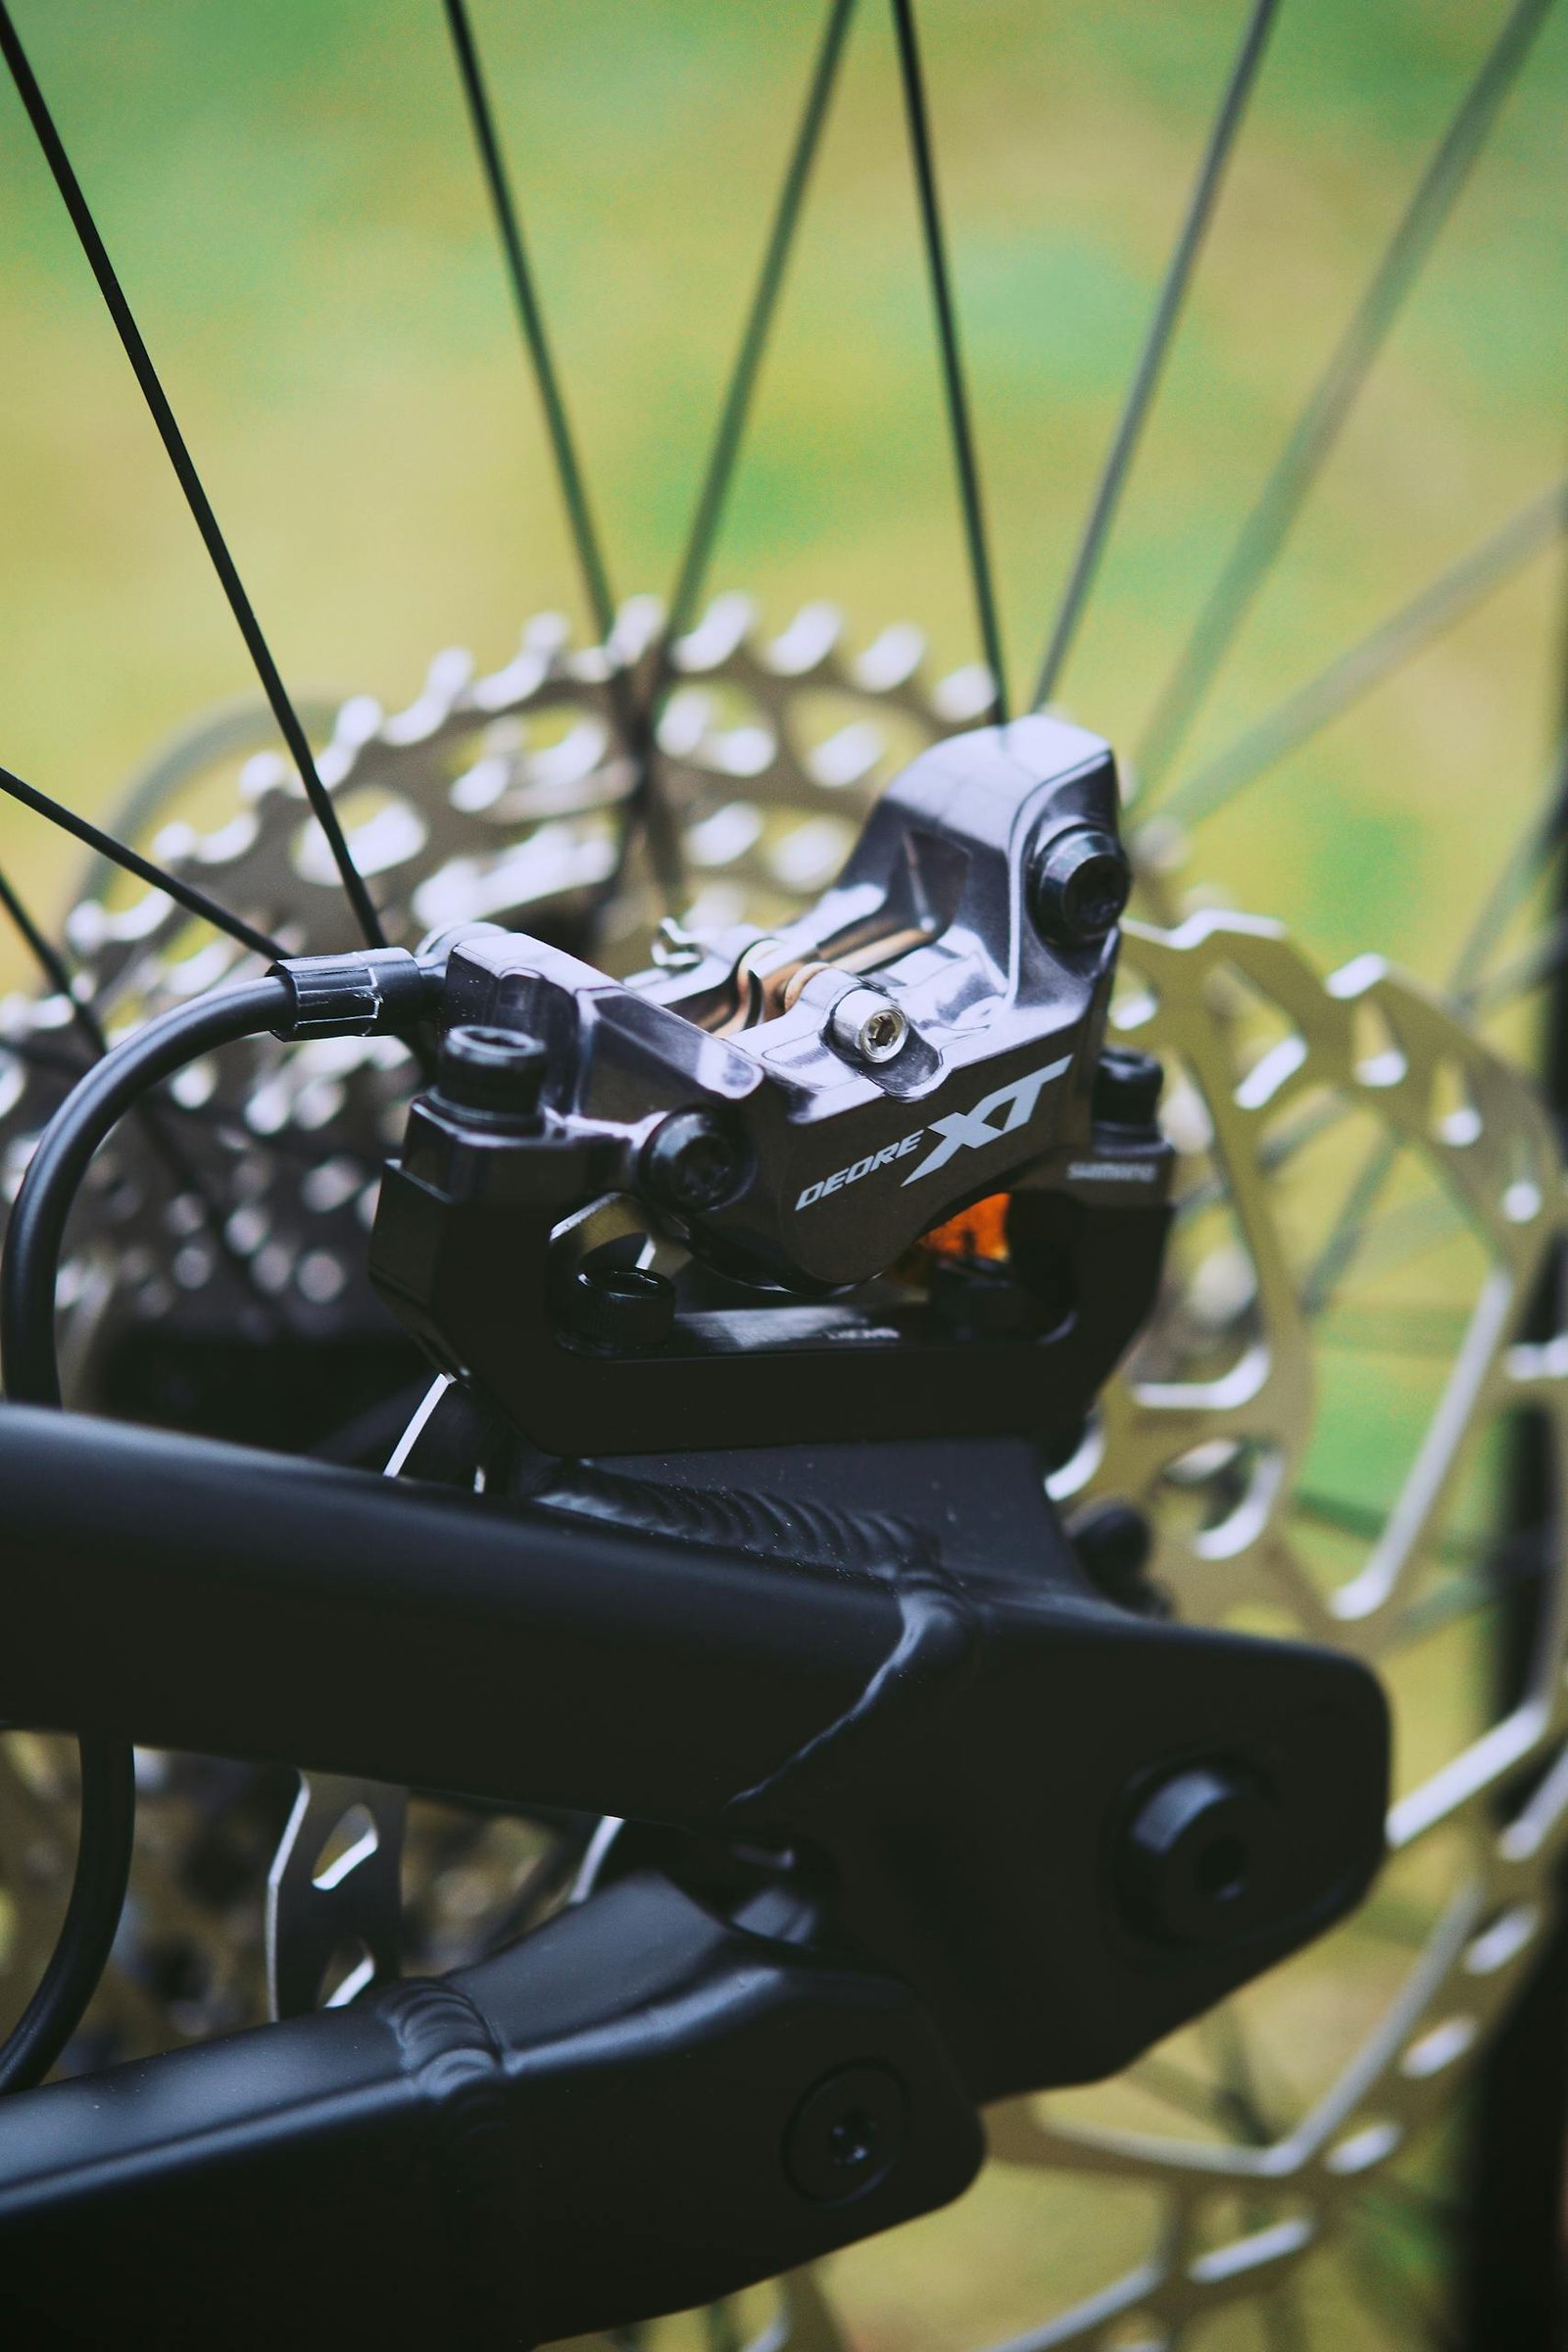
Step-by-Step Guide to Adjusting Disc Brakes
Disc brakes offer superior stopping power and reliability, especially in wet or muddy conditions. However, keeping them properly adjusted is essential for smooth performance. Here’s a step-by-step guide to fine-tuning your disc brakes, whether they’re mechanical or hydraulic.
Step 1: Inspect Disc Brake Pads and Rotors
Start by checking the brake pads for wear. If they’re worn down to less than 1mm or unevenly worn, it’s time to replace them. Next, inspect the rotor for warping or damage. A bent rotor can cause brake rub or inconsistent braking.
To spot rotor issues, spin the wheel and watch how the rotor moves through the caliper. If it wobbles, you may need a rotor truing tool to straighten it out.
Step 2: Center the Caliper Over the Rotor
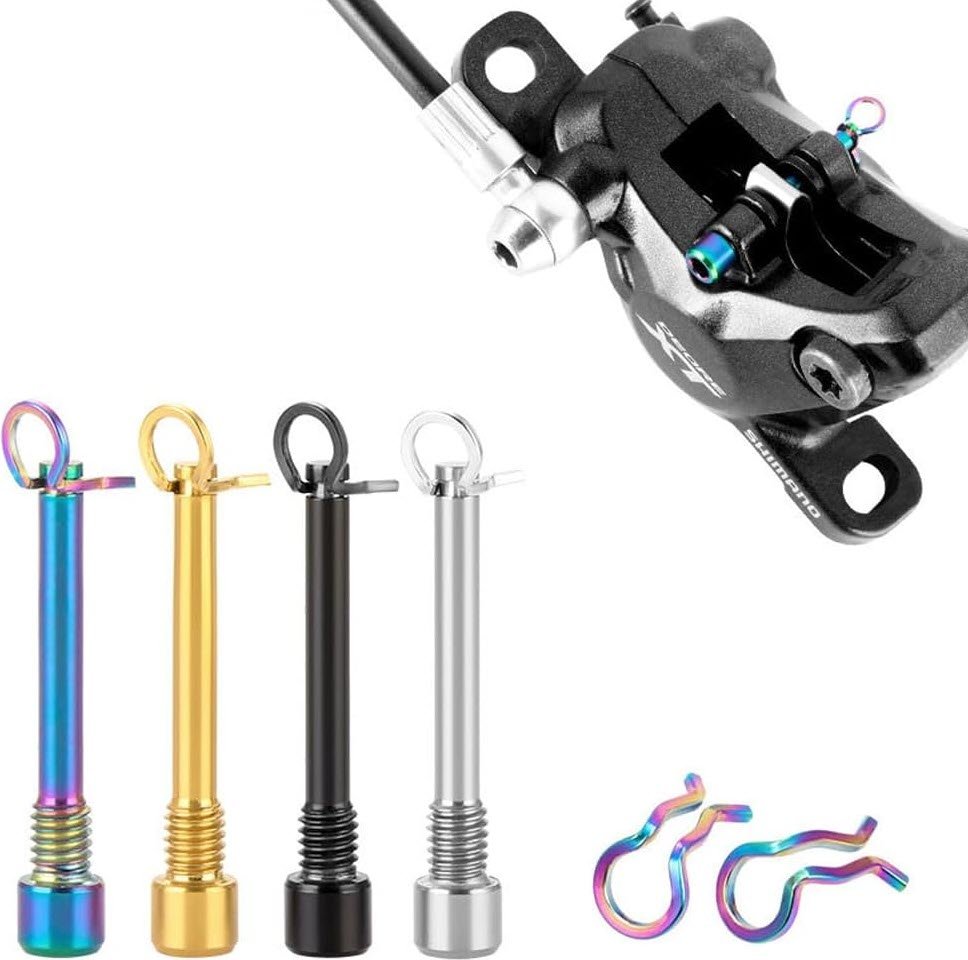
A misaligned caliper is one of the most common causes of brake rub. Loosen the bolts that attach the caliper to the frame or fork (usually with a 5mm Allen wrench).
Once loose, squeeze the brake lever firmly to align the caliper with the rotor. While holding the lever, retighten the bolts evenly. This centers the caliper over the rotor, ensuring the pads engage evenly when braking.
Step 3: Adjust Brake Cable or Hydraulic Fluid
Adjust the brake cable tension using the barrel adjuster. Turn it counterclockwise to tighten or clockwise to loosen. If needed, you can also fine-tune the tension by loosening the cable anchor bolt, pulling the cable tighter, and retightening the bolt.
Check for spongy lever feel—it may indicate air in the system. In that case, you’ll need to bleed the brakes to remove air bubbles and restore pressure. This process requires a specific bleeding kit and brake fluid compatible with your system (DOT fluid or mineral oil).
Step 4: Eliminate Brake Rub Through Micro-Adjustments
Brake rub happens when pads lightly touch the rotor, even when the lever isn’t engaged. To fix this, locate the pad adjustment screws (on mechanical systems) or make micro-adjustments to the caliper bolts. Loosen them slightly, nudge the caliper side-to-side until there’s no rub, and retighten.
Pad Adjustment Screws
For hydraulic brakes, a rotor that’s not perfectly straight can also cause rub. Use a rotor truing tool to gently realign the rotor.
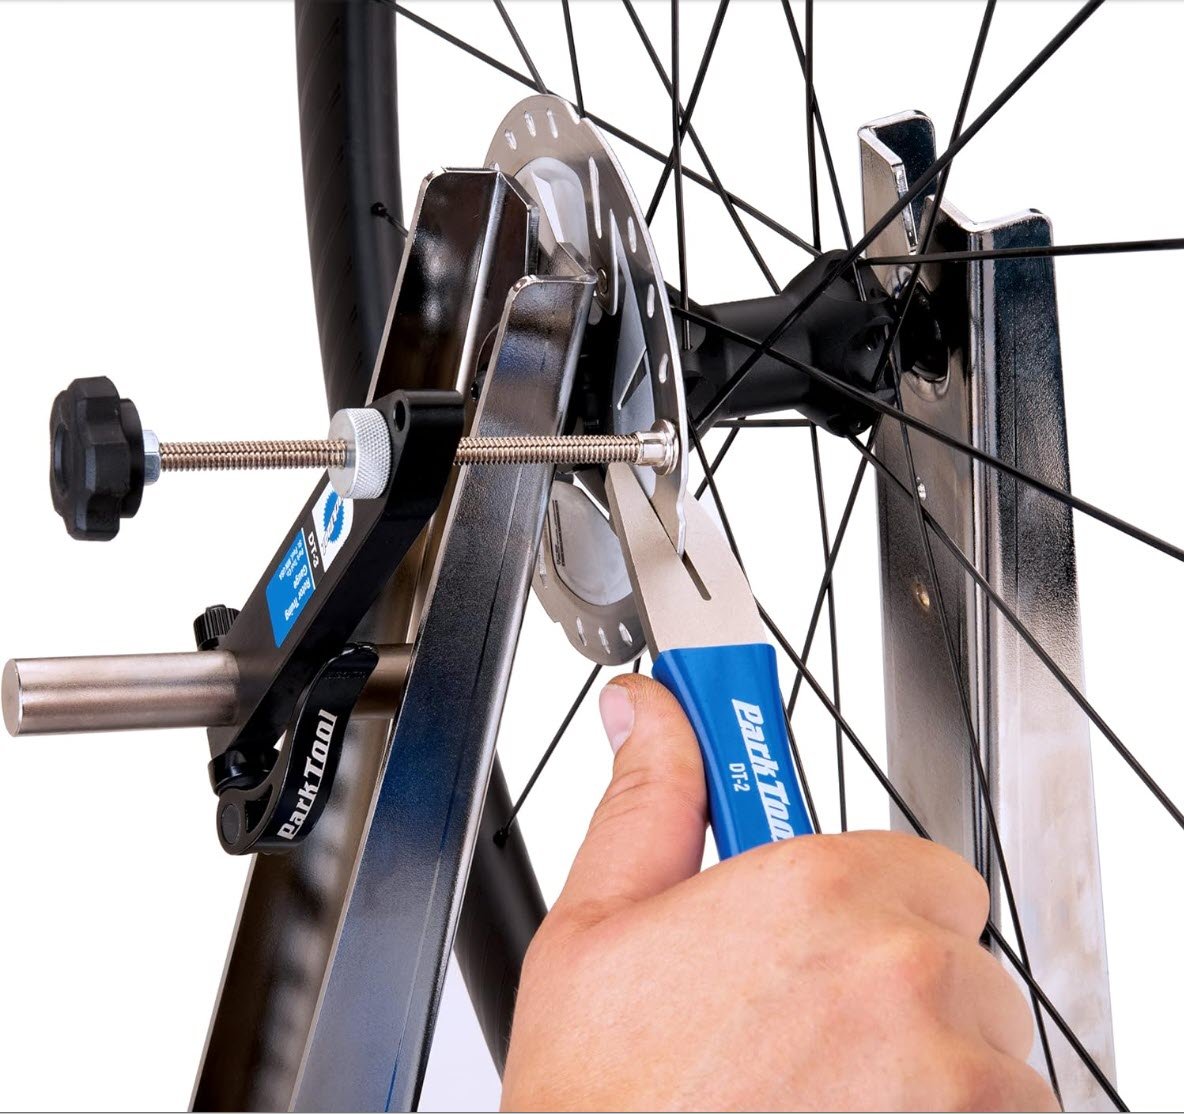
Rotor Truing Tool
Properly adjusted disc brakes are a game-changer for safety and performance. By inspecting your pads, centering the caliper, and addressing tension or rub issues, you can ensure your brakes respond crisply every time. Remember, attention to detail is key,small tweaks can make a big difference in your ride experience!
Troubleshooting Common Bike Brake Issues
Brakes are your bike’s most critical safety feature, but they can also be a source of frustration when things go wrong. Whether your brake lever feels off, your pads are rubbing, or you’re dealing with constant noise, these troubleshooting tips will help you identify and fix common brake issues.
Brake Lever Feels Too Loose or Tight
A brake lever that feels too loose where you’re pulling it all the way to the handlebar usually means the brake cable (for mechanical systems) or hydraulic fluid (for hydraulic brakes) needs attention.
- For mechanical brakes, tighten the cable using the barrel adjuster near the lever or caliper. If that’s not enough, you may need to manually adjust the cable tension by loosening the anchor bolt, pulling the cable tighter, and re-securing it.
- For hydraulic brakes, a spongy feel may indicate air in the system. In this case, you’ll need to bleed the brakes to restore pressure.
If the lever feels too tight, it might be because the cable is over-tensioned or the pads are too close to the rim or rotor. Loosen the barrel adjuster or manually adjust the cable to create more slack.

Brake Pads Rubbing Against the Wheel or Rotor
Brake rub is a common annoyance that can sap your energy during rides. If your rim brakes are rubbing, check the alignment of the pads. Use an Allen wrench to loosen the pad bolts, realign them so they sit evenly on the rim, and retighten.
For disc brakes, rubbing is often caused by a misaligned caliper. Loosen the caliper bolts, squeeze the brake lever to center the caliper over the rotor, and tighten the bolts while holding the lever.
Persistent Squeaking or Grinding Noises
Brake noise is more than just annoying—it can also signal a problem.
- Squeaking: This is often caused by dirty or glazed brake pads. Clean the pads and rims or rotors with rubbing alcohol and lightly sand the pads if needed. Improper pad alignment can also cause squeaks, so double-check their placement.
- Grinding: Grinding usually means the pads are worn down to the metal backing. Replace them immediately to avoid damaging the rim or rotor.
Bike brake issues can seem complicated, but most are easy to fix with some basic tools and patience. It can’t be said enough, regularly inspect and maintain your brakes to prevent these problems from cropping up in the first place. And when troubleshooting, don’t rush—small adjustments can make a big difference in performance and safety.
Tips for Maintaining Your Bike Brakes
Keeping your bike brakes in top shape is essential for both safety and performance. Regular maintenance doesn’t have to be complicated, but it does require some consistency. Here are some practical tips to ensure your brakes are always ready when you need them.
Cleaning Brake Pads and Rotors Regularly
Dirt, oil, and grime are your brake system’s worst enemies. For rim brakes, clean the brake pads and rims using rubbing alcohol and a clean rag. This removes any buildup that can reduce stopping power or cause that annoying squeaking sound.
Disc Brake Cleaner
Focus on the rotors and pads. Use a specific disc brake cleaner or rubbing alcohol to wipe them down. Avoid using household degreasers—they can leave a residue that reduces braking efficiency.

Always avoid touching the rotor surface or brake pads with your bare hands, as oils from your skin can contaminate them and reduce braking performance.
Checking and Replacing Brake Cables as Needed
Brake cables don’t last forever. Over time, they can stretch, fray, or corrode, especially if you ride in wet or muddy conditions. Inspect your brake cables regularly by pulling the lever and checking for slack, visible fraying, or rust.
For mechanical brakes, if you notice sluggish or uneven braking, it might be time to replace the cable. A good rule of thumb is to check and replace cables at least once a year if you’re a frequent rider.
If you’re running hydraulic brakes, regularly check the hoses for leaks or damage and ensure the brake fluid is at the correct level. If you notice spongy levers, bleeding the brakes may be necessary.
When to Seek Professional Bike Maintenance
While most brake maintenance tasks are DIY-friendly, there are times when calling in a pro is the best move.
- If your brakes make persistent grinding or squealing noises despite cleaning and adjustments, a professional can diagnose the issue.
- For hydraulic brakes, bleeding or replacing the fluid can be tricky if you’re not familiar with the process.
- If you’re unsure about rotor truing or alignment, it’s better to get help than risk damaging your brakes.
Brake maintenance is all about being proactive. Cleaning your pads and rotors, checking cables, and seeking professional help when necessary can prevent minor issues from becoming major problems. With regular care, your brakes will stay responsive, reliable, and ready for any ride.
Adjusting your bike brakes doesn’t have to be intimidating! With the right tools and a little bit of patience, you can ensure your bike performs at its best while keeping you safe on the road or on the trails
Take charge of your bike maintenance and enjoy a smoother, more confident ride. If you need further assistance, don’t hesitate to visit a bike shop or consult a professional.
Engage, Endure and Enjoy!
Find More Resources on Bicycles
- Smart Bike Trainers: 2024 Best Picks with Features and Benefits
- Mountain Biking for Beginners: Essential Guide to Hit the Trails in 2024
- 3 Best Mountain Bikes of 2024: Complete Buyer’s Guide & Reviews
- Bicycle Chain Maintenance: 2025 How to Clean and Lube Guide
- Essential Mountain Bike Gear: A Complete Guide for 2024