How to Build a Bicycle Wheel in 2025: Step-by-Step Guide
Learning how to build a bicycle wheel might seem intimidating, but it’s a skill that can save you money and give you an incredible new skill! Professional cyclists and bike mechanics have been hand-building wheels for decades, transforming what seems like a complex process into an art form.
Did you know that a well-built wheel can significantly improve your bike’s performance and durability? In fact, custom-built wheels can provide better strength, weight, and overall reliability compared to mass-produced alternatives.
Understanding Bicycle Wheel Components
A bicycle wheel isn’t just a circular object that helps you move. It’s a carefully engineered system of components working in perfect harmony. Let me break down the fascinating world of wheel construction that I’ve learned through countless years of cycling.
The Core Components
At its heart, a bicycle wheel consists of several critical elements:
- Rim
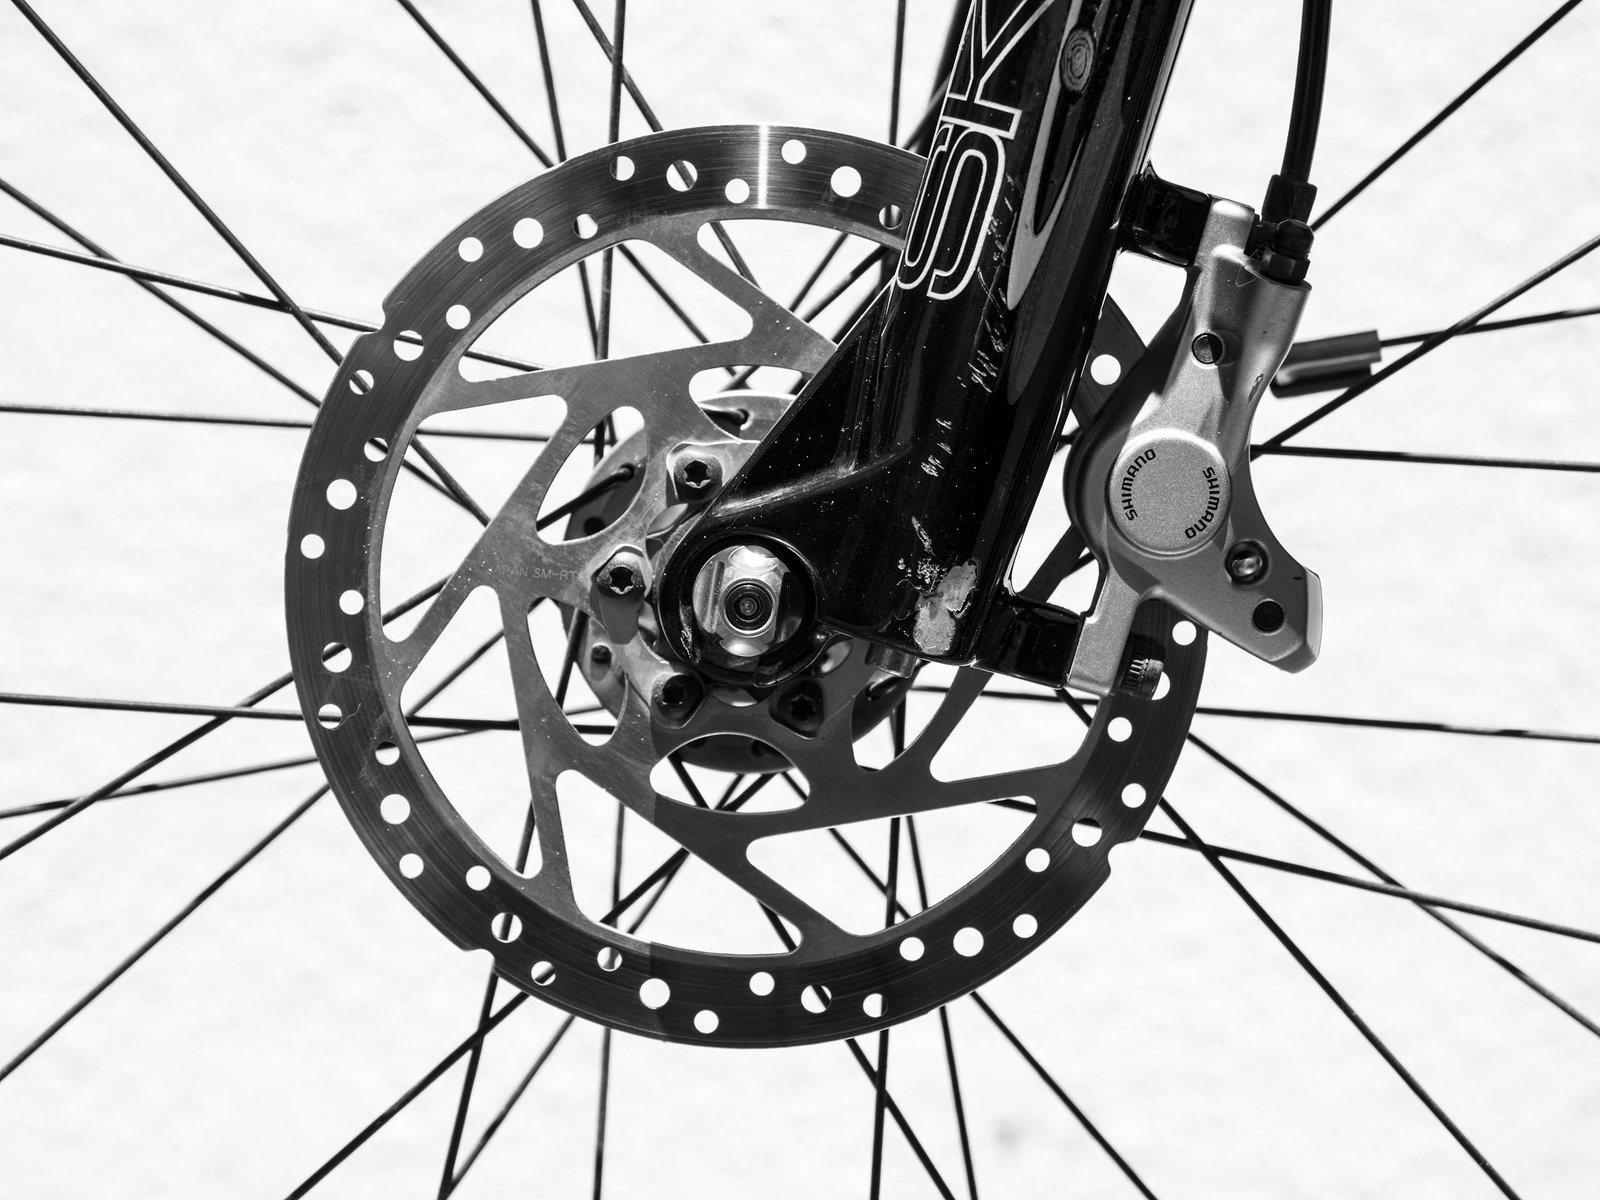
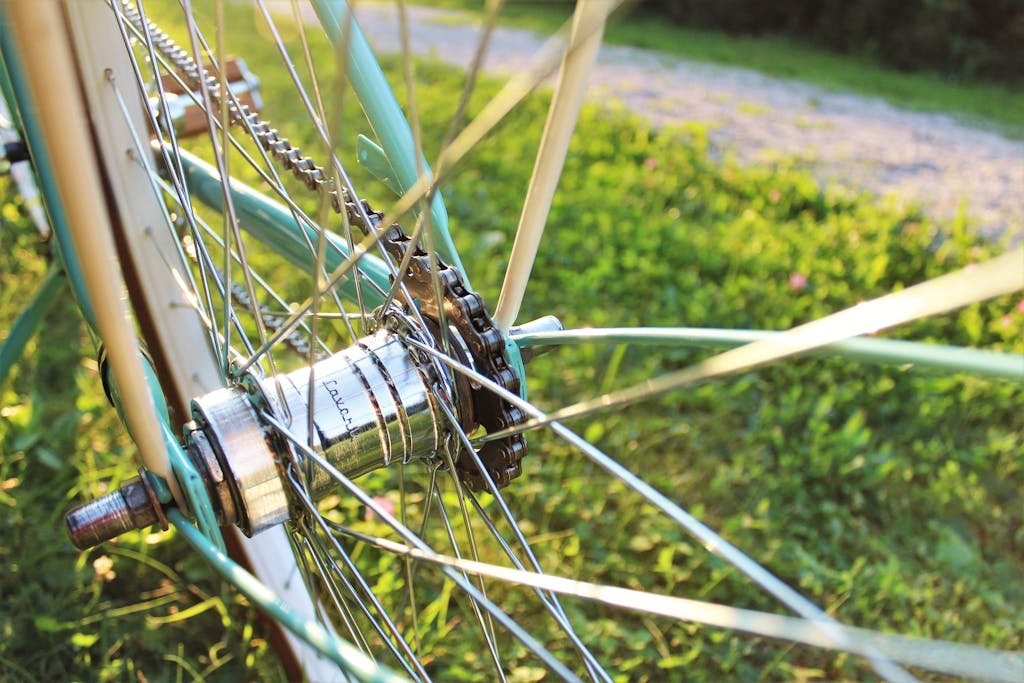
- Hub
- Spokes
- Nipples
- Rim tape
- Tire
Rims: The Wheel’s Structural Backbone
Rims are like the foundation of a house – everything else depends on their quality and design. Over the years, I’ve seen rims transform from simple metal hoops to high-tech engineering marvels.
Rim Material Breakdown
- Aluminum:
- Lightweight
- Excellent heat dissipation
- Most common material
- Cost-effective option
- Carbon Fiber:
- Incredibly lightweight
- High strength-to-weight ratio
- Used in high-end racing wheels
- More expensive
- Less durable than aluminum
- Alloy Combinations:
- Blend of materials for optimized performance
- Can provide best of multiple material properties
Hubs: The Wheel’s Central Powerhouse
Think of the hub as the wheel’s heart. It connects the wheel to the bike’s frame and handles all the rotational magic.
Hub Types
- Cartridge Bearing Hubs: Smooth, easy to maintain
- Cup and Cone Hubs: Traditional design, requires more maintenance
- Sealed Bearing Hubs: Excellent protection against dirt and moisture
Spokes: The Unsung Heroes of Wheel Strength
Spokes are like the support cables of a suspension bridge. They might look simple, but they’re doing complex work distributing force and maintaining wheel integrity.
Spoke Materials
- Stainless Steel: Most common, reliable
- Aluminum: Lightweight but less durable
- Titanium: Extremely light, very expensive
- Carbon Fiber: Used in high-end performance wheels
Spoke Patterns
- Radial: Straight from hub to rim
- Cross Pattern: Spokes cross over each other
- Tangent Pattern: Most common, provides best strength
Nipples: The Unsung Connectors
Nipples might sound like a weird bike part, but they’re crucial. They connect spokes to the rim and allow for precise wheel truing – the process of making sure your wheel is perfectly straight.
Nipple Materials
- Brass: Durable, traditional
- Aluminum: Lightweight, but can corrode
- Stainless Steel: Excellent corrosion resistance
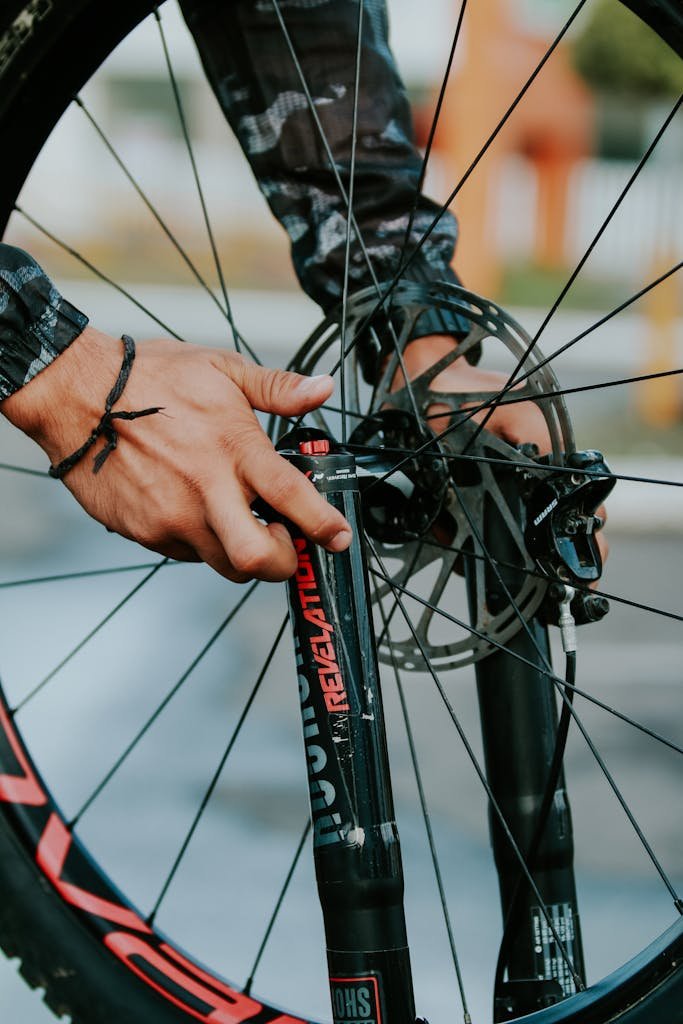
Tips for Wheel Selection
After countless wheel builds, here are my top recommendations:
- Always prioritize quality over cost
- Consider your riding style
- Match wheel components to your bike’s purpose
- Don’t skimp on hub quality
- Regular maintenance is key
The Holistic View of Wheel Construction
Understanding bicycle wheel components isn’t just about knowing parts – it’s about appreciating how these elements work together. Each component plays a crucial role in your cycling experience.
Remember, a great wheel is more than the sum of its parts. It’s a symphony of engineering, designed to support your every pedal stroke.
Essential Tools for How to Build a Bicycle Wheel
When learning how to build a bicycle wheel, your toolkit is everything. Think of it like a surgeon’s instrument set – each tool has a critical purpose.
Primary Wheel Building Essentials
- Truing stand
- Spoke tension meter
- Spoke nipple driver
- Spoke wrench (multiple sizes)
- Spoke ruler
- Good lighting
- Clean work surface
The Truing Stand: Your Precision Platform
A quality truing stand is non-negotiable when learning how to build a bicycle wheel. This isn’t just a stand – it’s your wheel’s alignment gym.
Check for:
- Adjustable mounting systems
- Precise lateral and radial measurement capabilities
- Sturdy construction
- Smooth, frictionless movement
Spoke Tension Meter: The Unsung Hero
Spoke tension is where art meets science in wheel building. A good tension meter helps you:
- Ensure even spoke tension
- Prevent wheel warping
- Identify potential weak points
- Achieve professional-level wheel precision
Critical Tools for Spoke Management
When diving into how to build a bicycle wheel, your spoke management tools are crucial:
- Spoke Nipple Driver
- Allows precise nipple rotation
- Reduces hand fatigue
- Enables consistent spoke threading
- Spoke Wrench
- Multiple sizes for different nipple types
- Provides controlled tension adjustment
- Essential for fine-tuning wheel trueness
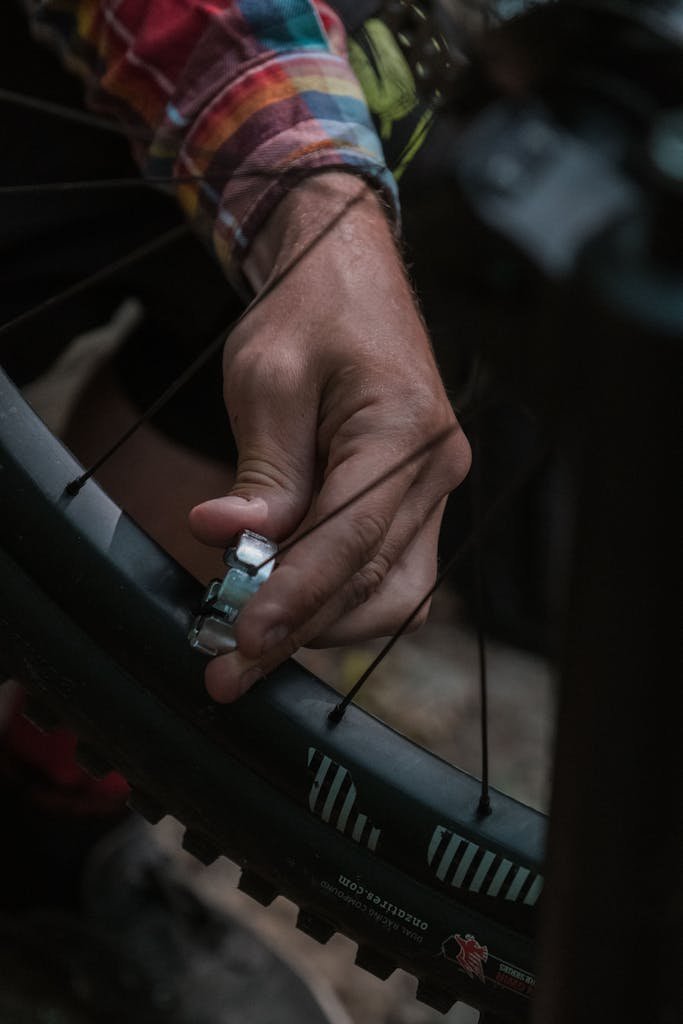
Workspace Organization
I learned the hard way that scattered tools equal frustrated wheel building. Invest in:
- Tool magnetic mat
- Good lighting
- Comfortable chair
- Clean, organized workspace
The Learning Curve
Remember, mastering how to build a bicycle wheel takes practice. Don’t get discouraged. Each wheel you build makes you more skilled and confident.
Your toolkit is your passport to wheel-building mastery. Invest wisely, practice consistently, and enjoy the journey!
Selecting the Right Spokes and Spoke Pattern: A Comprehensive Guide
My first wheel build was a disaster of mismatched spokes and pure confusion. I learned quickly that spoke selection is more art than science – a delicate balance of material, length, and pattern that can make or break your entire wheel.
Spoke Materials: The Foundation of Wheel Strength
When learning how to build a bicycle wheel, understanding spoke materials is crucial. Each material brings unique characteristics to your wheel’s performance.
Spoke Length Calculations: Precision Matters
Calculating spoke length is critical when learning how to build a bicycle wheel. Incorrect length means a wheel that won’t function properly.
Calculation Factors
- Rim diameter
- Hub flange diameter
- Flange spacing
- Spoke pattern
- Number of spoke holes
Always double-check your calculations. A millimeter can make a massive difference in wheel performance.
Spoke Patterns: Structural Considerations
Different spoke patterns provide unique performance characteristics:
Radial Pattern
- Spokes run straight from hub to rim
- Lightest pattern
- Less lateral strength
- Best for low-stress applications
Cross Pattern Options
- 2-cross: Two spoke crossings
- 3-cross: Three spoke crossings
- 4-cross: Four spoke crossings
Each pattern distributes force differently, impacting wheel strength and ride quality.
Matching Spokes to Riding Style
Your riding style determines spoke selection:
- Road racing: Lightweight, fewer spokes
- Mountain biking: Stronger, more spokes
- Touring: Durable, high spoke count
- Casual riding: Balanced approach
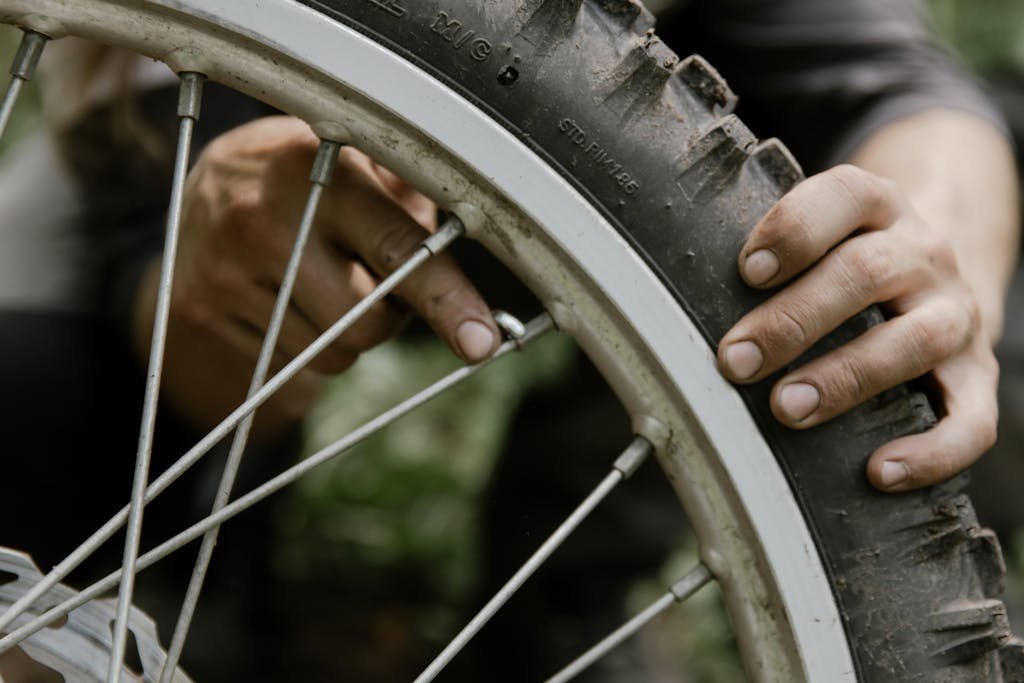
Pro Building Insights
When learning how to build a bicycle wheel, remember:
- Quality trumps quantity
- Consistency is key
- Tension matters more than spoke count
- Match spokes to your specific riding needs
Step-by-Step Spoke Lacing Technique: Mastering Bicycle Wheel Building
Learning how to build a bicycle wheel taught me that spoke lacing is part science, part meditation and a precise dance of metal and tension.
Preparation: Before You Start
Successful spoke lacing begins before you touch a single spoke. Your workspace is your workshop, your components your palette.
Pre-Lacing Checklist
- Clean, organized workspace
- All components ready
- Proper spoke length verified
- Tension meter nearby
- Good lighting
- Patience (lots of it)
Initial Spoke Placement: The Foundation
When learning how to build a bicycle wheel, your first spoke placement sets the entire wheel’s character.
Strategic First Spoke Insertion
- Start with the valve hole as your reference point
- Insert drive-side spokes first
- Align spoke heads consistently
- Maintain uniform spoke orientation
Systematic Lacing Method
Spoke lacing isn’t random – it’s a methodical process:
Step-by-Step Approach
- Begin with drive-side spokes
- Alternate spoke insertion
- Maintain consistent crossing pattern
- Use spoke holder to manage loose spokes
- Check alignment continuously
Common Beginner Mistakes to Avoid
I’ve made every mistake possible when learning how to build a bicycle wheel. Here’s what to watch for:
- Inconsistent spoke tension
- Misaligned spoke heads
- Incorrect crossing pattern
- Forcing spokes into position
- Rushing the process
Take Your Time
Spoke lacing is not a race. Each spoke placed is a step towards wheel perfection.
Spoke Alignment Secrets
Maintaining spoke alignment is an art form:
- Use truing stand constantly
- Check spoke tension evenly
- Rotate wheel frequently
- Look for symmetry
- Make micro-adjustments
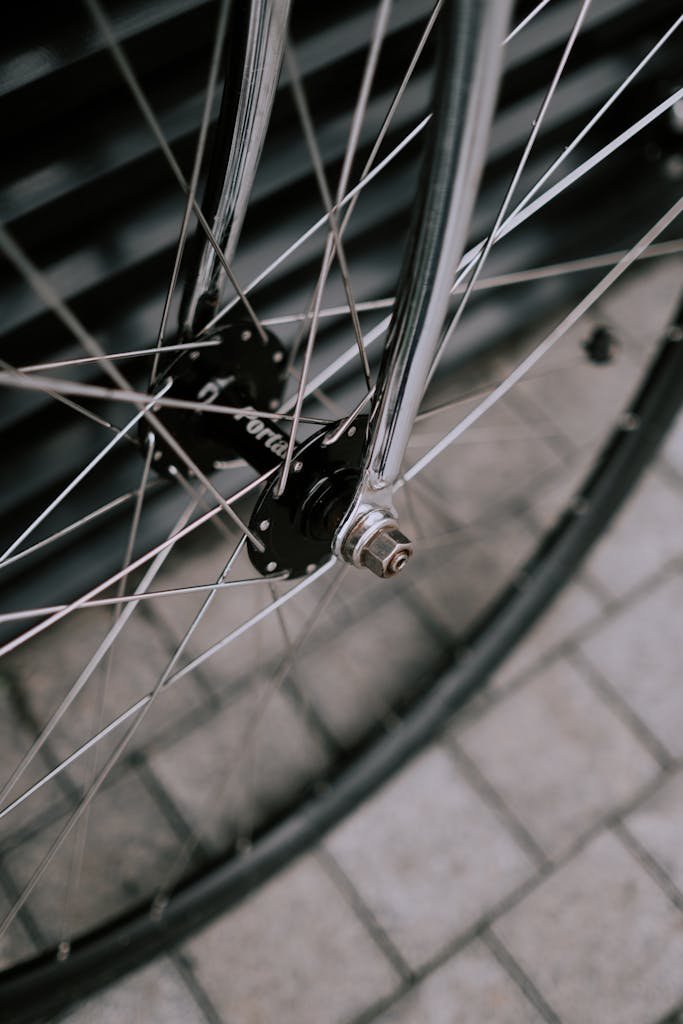
Final Thoughts on Spoke Lacing
Learning how to build a bicycle wheel takes practice. Your first wheel might look rough, but each subsequent build becomes smoother, more precise.
Remember, patience, consistency, and attention to detail are your best tools.
Wheel Truing and Tension Adjustment: The Precision Art of Bicycle Wheel Building
Wheel trueness is about creating a perfectly aligned wheel that spins without lateral or radial deviation. It’s the difference between a smooth ride and a bike that feels like it’s riding on square wheels.
What is Trueness?
- Perfect circular rotation
- No side-to-side wobble
- Consistent spoke tension
- Minimal deviation from center line
Lateral Truing: Side-to-Side Precision
Lateral truing addresses the wheel’s side-to-side movement. When learning how to build a bicycle wheel, this is where most beginners struggle.
Truing Techniques
- Identify deviation points
- Make minimal spoke adjustments
- Work in quarter-turn increments
- Check constantly
- Be patient
Radial Truing: Addressing Vertical Wobble
Radial truing focuses on the wheel’s up-and-down movement. It’s about creating a perfectly round wheel that doesn’t hop or bounce.
Key Radial Truing Steps
- Use truing stand markers
- Identify high and low spots
- Adjust spoke tension systematically
- Make incremental changes
- Recheck after each adjustment
Spoke Tension Balancing
Spoke tension is the secret sauce of wheel building. Uneven tension leads to wheel failure.
Tension Balancing Methods
- Use tension meter
- Tap spokes to check pitch
- Equalize tension across wheel
- Start from center, work outwards
- Look for consistent flex
Truing Stand Mastery
A truing stand is your precision instrument when learning how to build a bicycle wheel. It reveals imperfections invisible to the naked eye.
Effective Truing Stand Techniques
- Secure wheel firmly
- Use minimal indicator contact
- Rotate wheel slowly
- Check both lateral and radial trueness
- Make tiny, precise adjustments
Pro Tips for Perfect Truing
- Patience is your greatest tool
- Make 1/4 turn spoke adjustments
- Work systematically
- Recheck frequently
- Listen to spoke sounds
Final Wheel Roundness Check
The ultimate test of your truing skills is a smooth, silent wheel rotation. Take your time, be methodical, and enjoy the process.
Wheel truing is where mechanical precision meets artistic touch.
Final Wheel Inspection and Testing: Ensuring Bicycle Wheel Perfection
Thoroughly testing your wheel is the difference between a reliable ride and a potential disaster. When learning how to build a bicycle wheel, these final checks are non-negotiable.
Critical Inspection Checklist
- Spoke tension uniformity
- Lateral and radial trueness
- Rim integrity
- Hub alignment
- Overall structural integrity
Stress Testing Spoke Tension
Spoke tension is the backbone of wheel strength. A systematic approach reveals hidden weaknesses.
Tension Testing Methods
- Use professional tension meter
- Tap each spoke, listen for consistent pitch
- Check for even flex across wheel
- Identify and correct any outlier tensions
- Recheck after initial stress test
Performance Verification Techniques
Before hitting the trails, put your wheel through its paces:
Detailed Performance Check
- Spin wheel in truing stand
- Check for smooth, silent rotation
- Verify no lateral movement
- Test spoke rigidity
- Ensure hub spins freely
When to Seek Professional Help
Not all wheel builds are created equal. Recognize your limits:
- Inconsistent spoke tension
- Unexplained wheel wobble
- Unusual spoke or rim sounds
- Lack of confidence in build
Maintenance Tips for Longevity
A well-built wheel requires ongoing care:
- Regular tension checks
- Clean and lubricate spoke nipples
- Inspect for spoke fatigue
- Monitor rim wear
- Store bike in controlled environment
The Stress Test Ritual
I always perform a controlled stress test:
- Gentle side-to-side pressure
- Check for uniform spoke response
- Listen for any unusual sounds
- Verify wheel maintains true alignment
Final Thoughts on Wheel Inspection
Learning how to build a bicycle wheel is a journey of precision and patience. Your final inspection is the ultimate proof of your craftsmanship.
Final Thoughts
Building a bicycle wheel is more than just a mechanical process—it’s a rewarding skill that connects you directly with your bicycle’s performance. While it takes practice to master, each wheel you build will improve your technique and understanding. Don’t be discouraged by initial challenges; every professional started exactly where you are now. Remember, a perfectly built wheel is your direct connection to the road, offering smoother rides and increased cycling enjoyment!
Find More Resources on Bicycles
- Smart Bike Trainers: 2024 Best Picks with Features and Benefits
- How to Improve Cycling Endurance in 2025: 5 Proven Strategies for Cyclists
- Bicycle Chain Maintenance: 2025 How to Clean and Lube Guide
- How Do You Adjust Bike Brakes? A Step-by-Step Guide for 2024
- Essential Mountain Bike Gear: A Complete Guide for 2024

