How to Fix a Flat Bike Tire: Step-by-Step Guide 2025
Have you ever learned how to fix a flat bike tire? A little know fact, the average cyclist experiences 2-3 flat tires per year. But don’t worry I’ve got you covered.
I’ll show you exactly how to handle this common cycling challenge. After repairing countless flat tires, I’ve perfected the process of fixing flats quickly and effectively.
Essential Tools for Every Flat Repair
I’ve narrowed down the absolute must-haves. You’ll need two plastic tire levers – never use metal ones as they’ll damage your rim and possibly cause future flats.
A reliable pump with pressure gauge is crucial; make sure it can handle up to 100 PSI for road bikes or 50 PSI for mountain bikes. I’d recommend the Lezyne Sport Drive HP pump – it’s durable and accurate.
Smart Inner Tube Selection
The most common mistake I see is using the wrong tube size. Find your tire size on the sidewall – it’ll look something like “700c x 25mm” for road bikes or “26 x 2.1” for mountain bikes. The first number is your wheel diameter, the second is width.
Always carry a spare tube matching these exactly. I’ve learned that Specialized or Continental tubes offer the best reliability-to-price ratio. For commuters, consider thorn-resistant tubes – they’ll save you countless flats.

Quick-Fix Patch Kits That Actually Work
Through trial and error, I’ve found that vulcanizing patches are totally worth the extra cost. They create a permanent bond, unlike those tempting self-adhesive patches that often fail within days.
Vulcanized rubber’s increased strength and elasticity allow it to be stretched to a much greater degree without warping or becoming deformed. Vulcanization also means that the rubber is better protected against abrasion or other damage caused by scraping.
A solid patch kit should include:
- High-quality sandpaper for proper surface prep
- Fresh rubber cement (replace it yearly)
- Multiple patch sizes for various punctures
The Park Tool GP-2 kit is my go-to after testing dozens of options. It’s reasonably priced and gets the job done.
Time-Saving Tools Worth the Investment
For faster repairs, invest in a CO2 inflator – but always carry a mini pump as backup. The Genuine Innovations ultraflate is awesome and reliable. A small LED light will aid you during night repairs. Pack everything in a waterproof bag – wet tools lead to rusty tools.
Mark your tire’s rotation direction before removal. Test your patch kit monthly – rubber cement can dry out even when sealed. Practice changing a tire at home first – it’s way better than learning on a dark, rainy roadside. Remember, speed comes with practice, but accuracy prevents future flats.
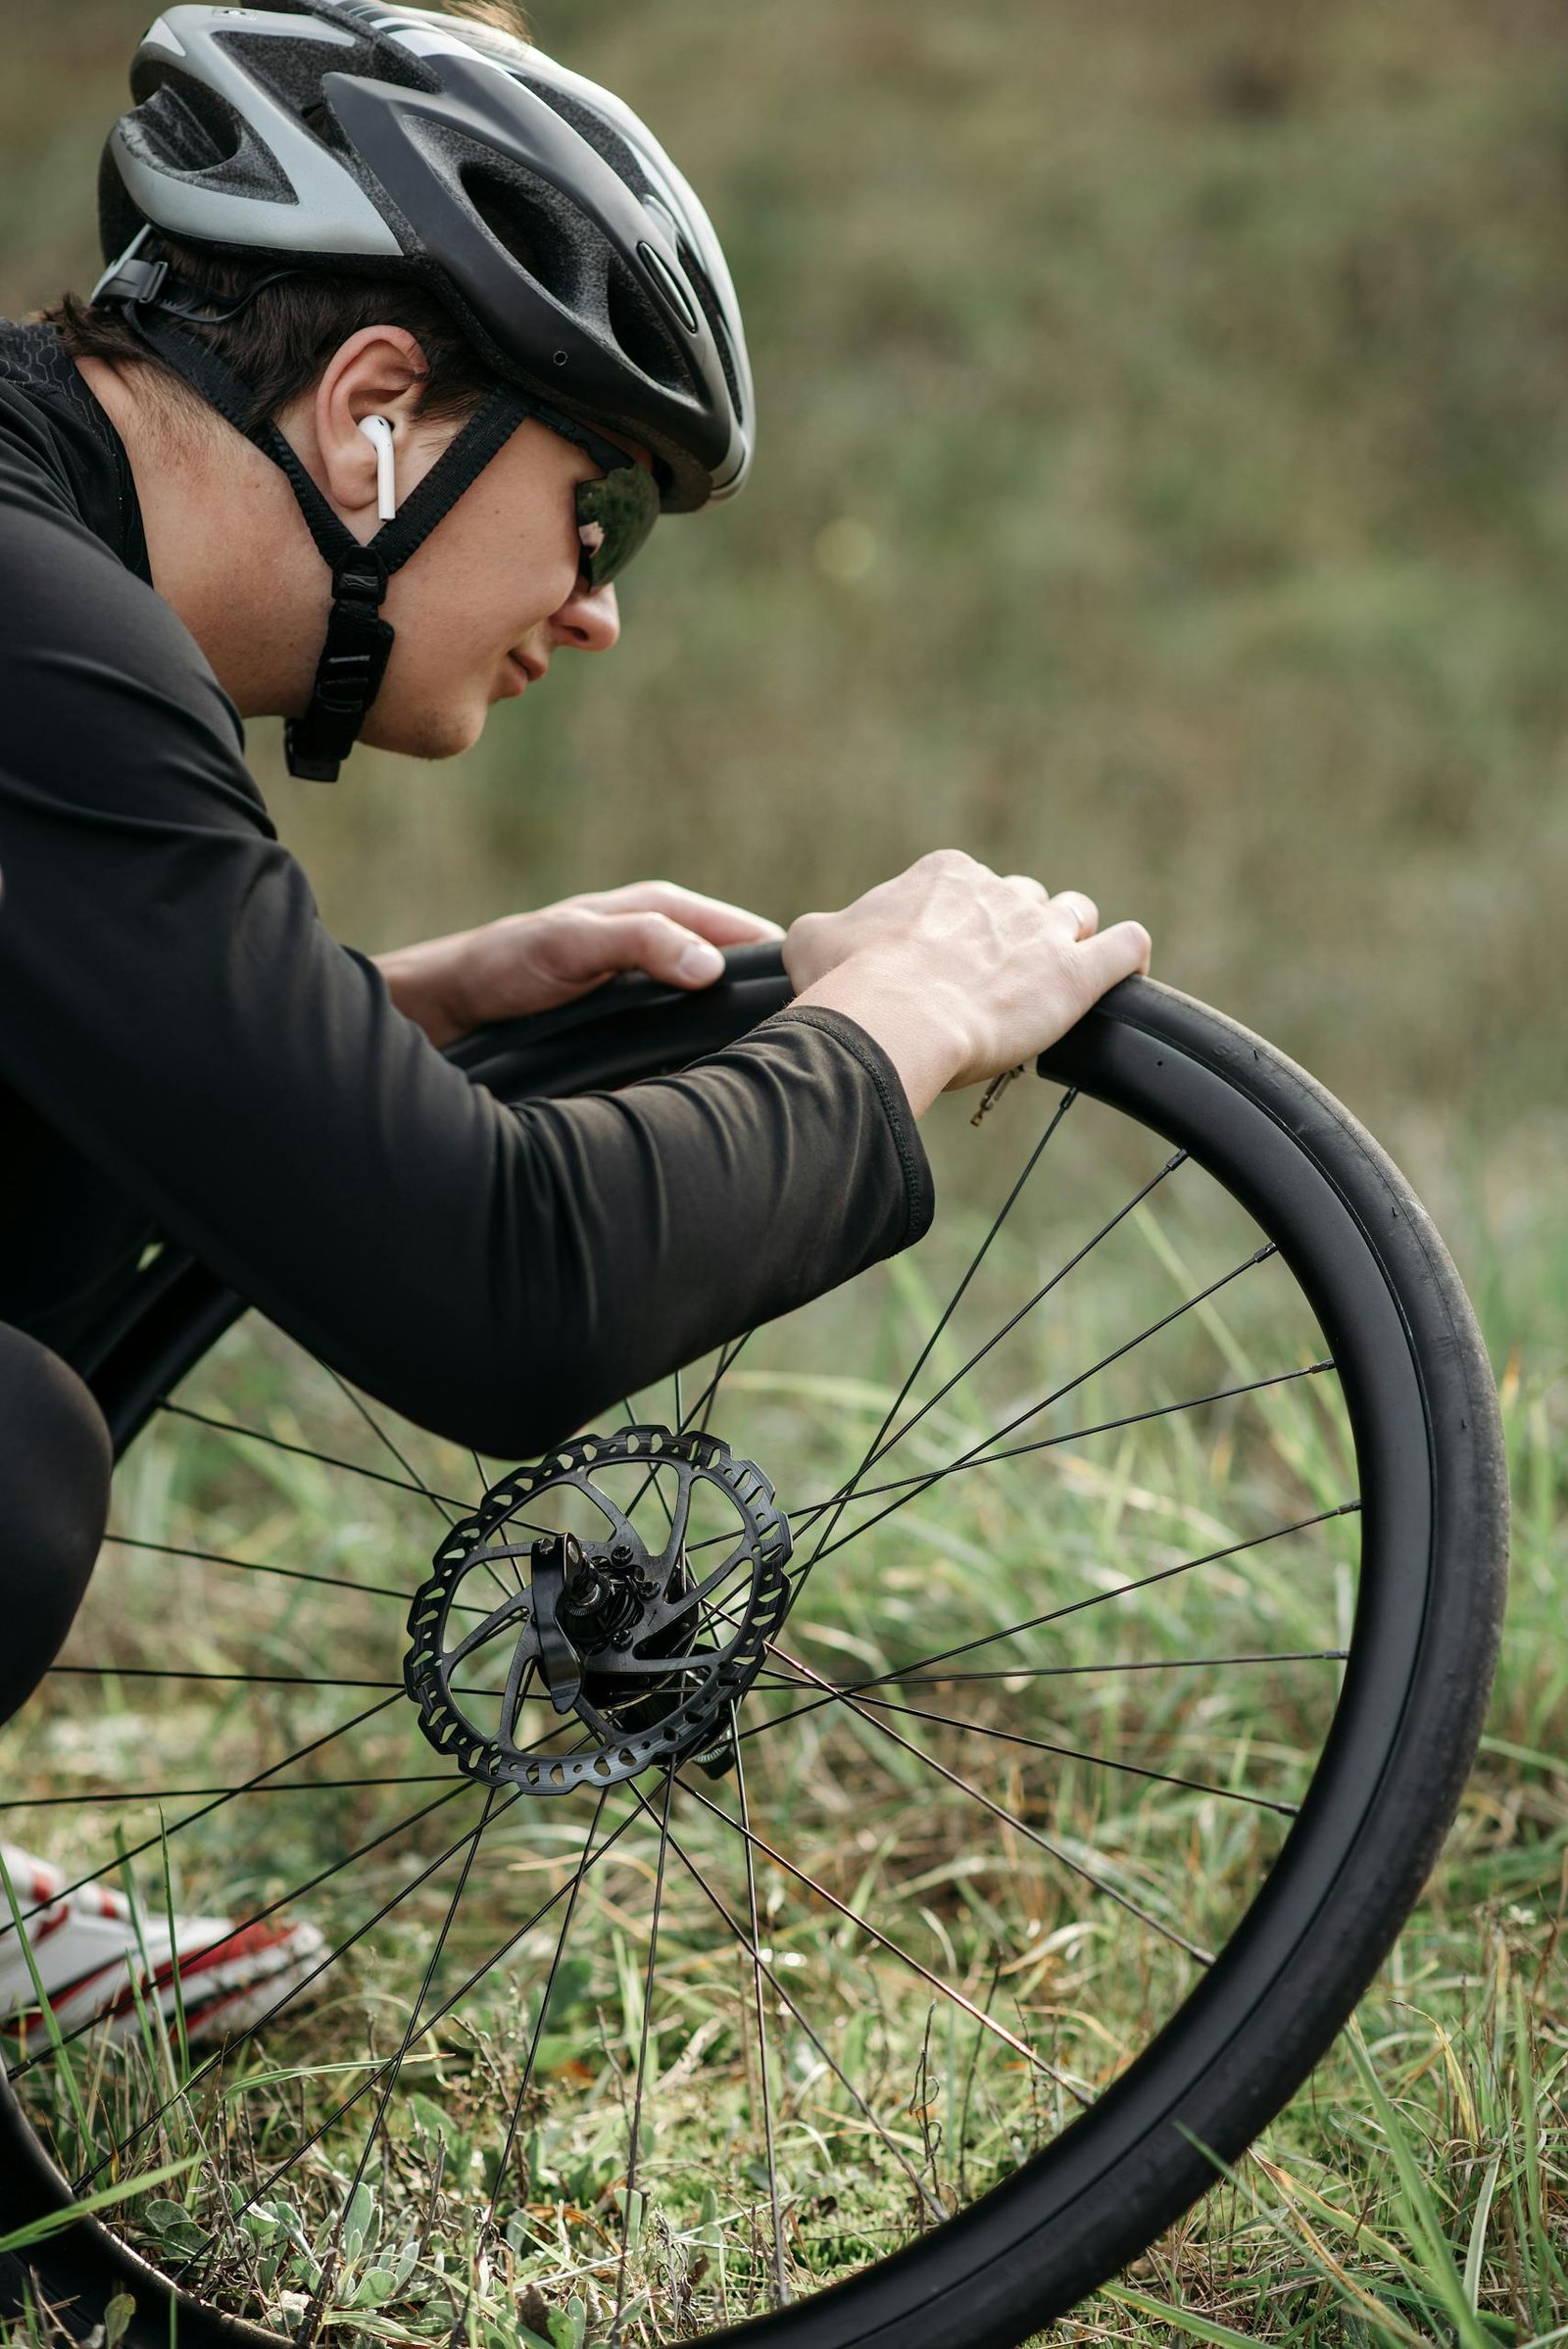
Safe Wheel Removal Steps
First, shift to the smallest rear cog if working on the rear wheel – this makes removal easier. Release your brakes by either opening the quick-release or disconnecting the cable. For rear wheels, pull back the derailleur to create slack. Turn the bike upside down or place it in a stand. Open the quick-release skewer or loosen the axle nuts, then carefully slide the wheel out.
Proper Tire Lever Technique
Start about 4 inches from the valve stem. Insert the first lever under the tire bead, hook it on a spoke, then insert the second lever about 3 inches away. Roll the tire off the rim by sliding the second lever around – don’t pry or force it. The tire should come off smoothly with gentle pressure.
Common Mistakes That Cause Damage
One of the biggest mistakes I see is using brute force with tire levers. This can pinch your tube, creating new holes, or damage your rim tape. Another common error is starting near the valve stem, which makes removal harder. Never use screwdrivers or metal tools – they’ll destroy your rim’s finish and likely cause future flats.
Special Bike-Specific Considerations
Different bikes need different approaches:
- Road bikes: Be extra careful with carbon rims
- Mountain bikes: Watch for tubeless tape damage
- E-bikes: Note the wheel’s orientation for motor connection
- Disc brakes: Don’t pull the brake lever with wheel removed

Remember to take your time during removal – rushing often leads to additional problems and damaged equipment.
Finding and Assessing Punctures
Inflate the tube and listen for escaping air. If that doesn’t work, use soapy water in a spray bottle – bubbles will form at the puncture site. For tiny leaks, hold the tube close to your cheek to feel for escaping air. Mark the puncture location with a pen or chalk immediately when found.
Thorough Tire Inspection
Run your fingers carefully inside the tire to find sharp objects. Never skip this step – I’ve learned that about 60% of repeat flats happen because the original puncturing object remains in the tire. Work in small sections and mark any damage spots with chalk.
Types of Punctures and Solutions
Snake Bite Punctures: Two parallel holes from hitting curbs or rocks. Always replace the tube and check rim damage.
Single Punctures: Small holes from glass or thorns. Good candidates for patching if the hole is smaller than 5mm.
Sidewall Tears: Look for cuts in tire sidewall. Install a tire boot immediately and plan for tire replacement.
To install a tire boot, locate the tear or puncture in your tire, then carefully slide the tire boot (a piece of rubber or similar material designed for this purpose) between the tire and the inner tube, ensuring it completely covers the damage.
Once positioned, re-mount the tire onto the rim and inflate to the proper pressure, making sure the boot stays securely in place within the tire casing; if you lack a dedicated tire boot, a temporary solution could include folding a piece of sturdy paper or even a dollar bill to fit the tear and insert it between the tire and tube.
When to Patch vs Replace
Patch when:
- Single small hole away from valve stem
- No previous patches nearby
- You’re more than 10 miles from home or a shop
Replace when:
- Multiple punctures
- Hole near valve stem
- Tear larger than 5mm
- Previous patch has failed
If you’re unsure about a repair’s safety, replace the tube. A new tube costs less than being stranded.
Patching or Replacing the Tube
Now, let’s get down to the business of how to fix a flat bike tire, decide whether your patching or replacing the tube.
Patching is your go-to option if the damage to the tube is small, like a pinhole or a tiny puncture. Start by removing the tire from the wheel with a pair of tire levers (plastic ones are best—they won’t damage the rim).
Now, mark the spot with chalk or a marker, deflate the tube completely, and use sandpaper (or the rough patch from your repair kit) to scuff up the area. This step is crucial because it helps the patch adhesive stick like a champ. Apply the glue thinly and let it sit for about a minute to get tacky. Place the patch on the spot and press it down firmly, smoothing out any air bubbles.

Proper Patch Application Techniques
Here’s where a lot of people mess up: not letting the glue set or using too much pressure when smoothing the patch. Patience is key! Give it 5-10 minutes to dry completely before reinserting the tube. And never skip the quality check—inflate the patched tube to make sure there are no leaks. This step alone can save you from having to do the whole process over.
Oh, and if you’re using self-adhesive patches, don’t assume they’ll last forever. They’re great for quick fixes, but for a longer-term solution, the traditional glue-and-patch method is way more reliable.
Tube Replacement Procedure
Sometimes patching just isn’t an option—like if the tube has a massive tear. In that case, replacing the tube is your best bet. Start by deflating the tube entirely (if it’s not already flat), then pry the tire off the rim with your trusty tire levers. Remove the old tube, inspect the tire for sharp debris (important!), and slide in the new tube.
Inflate the new tube slightly before inserting it. It makes positioning it inside the tire way easier and reduces the chance of pinching it during installation. Once the tube is seated properly, work the tire back onto the rim, starting opposite the valve stem. This method gives you the best leverage without damaging the tube.
Quality Check Methods
You’d think the hard part is over after replacing or patching the tube, but hold up—you’ve gotta do a quality check! Inflate the tire gradually and watch for any bulges or uneven spots. Spin the wheel a few times to ensure everything’s aligned. A wobbly tire is a clear sign something’s wrong, and trust me, it’s worth taking a couple of extra minutes to fix it now instead of dealing with another flat 10 minutes into the trail.
With a bit of practice, learning how to fix a flat bike tire becomes second nature. Honestly, it’s one of those skills every cyclist should have down cold—it’s empowering and saves you from unnecessary headaches (or long walks home).
Reinstalling the Tire and Wheel
Once you’ve patched or replaced the tube, the next step is getting your tire and wheel back on properly. This is where attention to detail really matters—because the last thing you want is a wobbly or unsafe wheel throwing off your ride.
Correct Tire Mounting Technique
Start by lining up the tire with the wheel rim. If your tire has a directional tread pattern (look for arrows on the sidewall), make sure it’s facing the right way—otherwise, your grip on the road or trail might not be optimal. Place one side of the tire bead (the edge of the tire) onto the rim, leaving the other side off so you can easily tuck in the tube.

Proper Tube Positioning
Now it’s time to get the tube seated correctly. Inflate it slightly—just enough so it holds its shape—and tuck it evenly inside the tire. Pay extra attention to the valve stem. Once the tube is in place, work the second tire bead onto the rim. Start opposite the valve stem and work your way around, using your thumbs to push the tire into place.
Inflation Guidelines and Pressure Checks
Be careful not to over-inflate too quickly. Always start slow. Use a pump with a pressure gauge and inflate the tire to the recommended PSI (it’s usually printed on the tire sidewall). Go for a firm but slightly springy feel—tires that are too hard can make your ride uncomfortable, while under inflation increases the risk of another flat.
Once everything checks out, you’re good to hit the road with confidence. Reinstalling the tire and wheel correctly is totally game changing for a smooth and safe ride!
Final Thoughts
With these steps, you can confidently fix a flat tire anywhere, anytime. Remember to practice at home first and always carry basic repair tools. Regular tire maintenance helps prevent flats. Check your tires weekly for wear and debris. Remember rubber cement does not last forever. Check and replace as needed.
Find More Resources on Bicycles
- Smart Bike Trainers: 2024 Best Picks with Features and Benefits
- How to Improve Cycling Endurance in 2025: 5 Proven Strategies for Cyclists
- Bicycle Chain Maintenance: 2025 How to Clean and Lube Guide
- How Do You Adjust Bike Brakes? A Step-by-Step Guide for 2024
- Essential Mountain Bike Gear: A Complete Guide for 2024