Mountain Biking Injury Prevention
You really never can be too safe. Let’s discuss Mountain Biking Injury Prevention. Did you know that 70% of mountain biking injuries are preventable through proper preparation and technique? As a huge mountain biker, I’ve seen first hand how knowing the right intervention can make the difference between a joyful ride and a trip to the ER.
Staying injury-free is critical for enjoying this incredible sport. Let’s jump into everything you need to know about keeping yourself safe on the trails!
Essential Tips for Safe Riding in 2025
Essential Protective Gear for Mountain Biking Safety
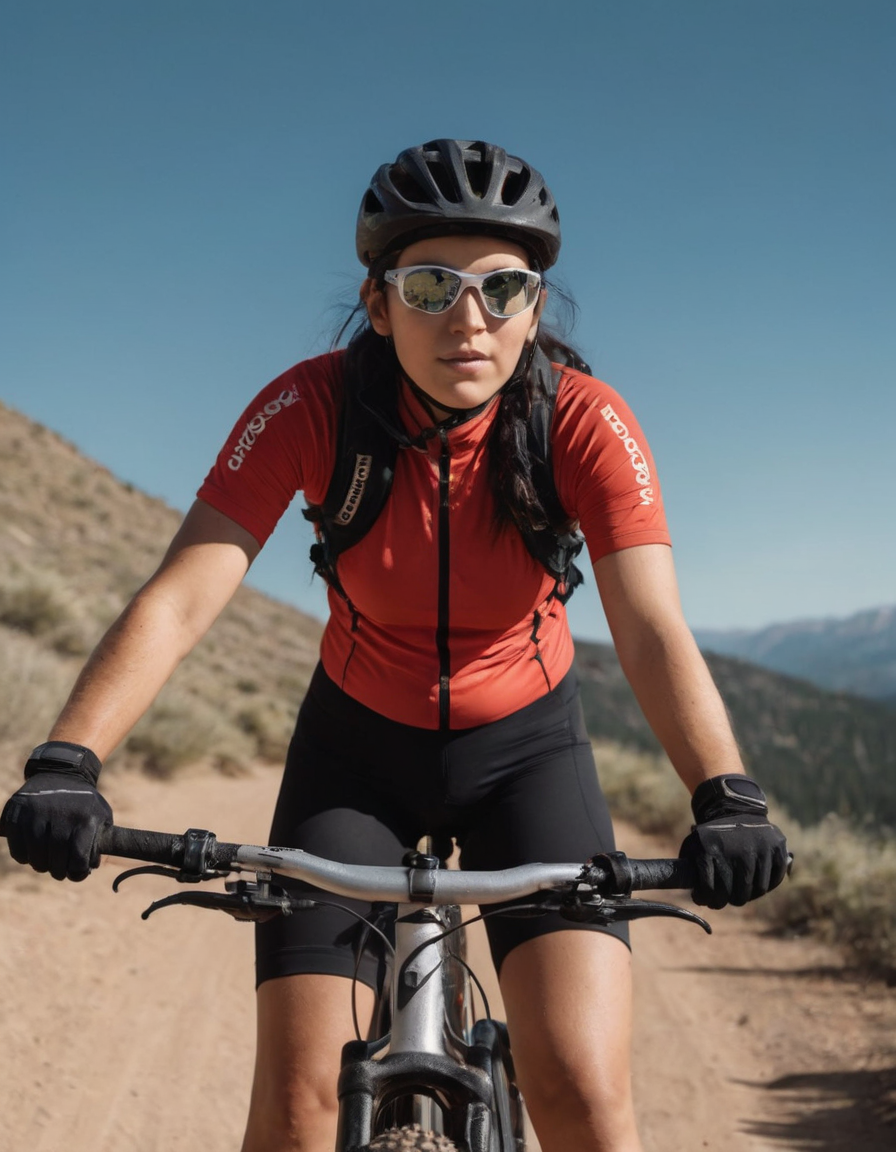
You know what taught me the importance of bike safety gear? A nasty crash that could have been way less painful if I’d been properly equipped. Let me share what I’ve learned about protecting yourself on the trails.
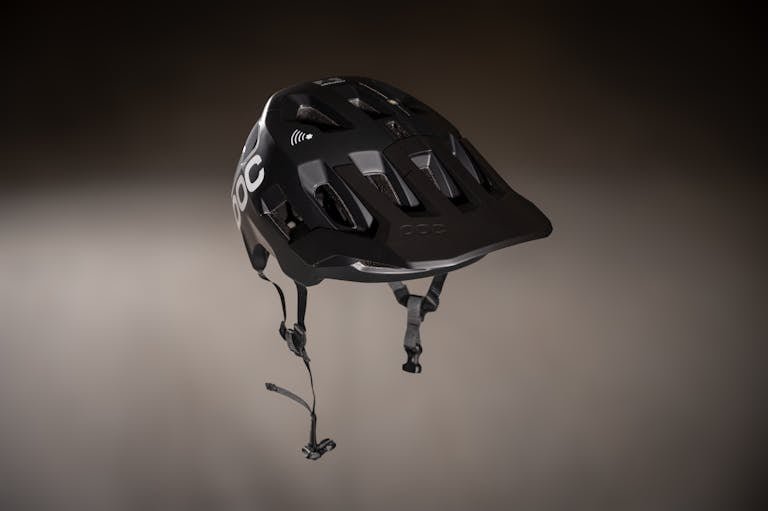
Finding the Perfect Mountain Bike Helmet
Protect your dome when you’re riding! A good helmet is like having insurance – you hope you never need it, but you’re super glad to have it when you do.
Getting the right fit:
- Your helmet should sit level, about two finger-widths above your eyebrows
- Side straps should make a “V” shape under your ears
- Only one finger should fit between chin strap and chin
- When you shake your head, the helmet shouldn’t move around

Body Armor Basics
I used to think body armor was just for looks. Jeez, was I wrong! Those rocks and roots don’t care if you’re a beginner or expert.
Must-have protection:
- Knee pads with flexible padding
- Elbow guards that don’t restrict movement
- Hip pads for technical trails
- Chest protector for aggressive riding
Eye Protection and Gloves
Your eyes and hands also need serious protection on the trails. Regular sunglasses just won’t cut it.
What to look for:
- Wrap-around style glasses that block debris
- Impact-resistant lenses
- Full-finger gloves with padded palms
- Reinforced knuckle protection
Mountain Biking Footwear
The right shoes can make a huge difference in your riding. I figured this out after my sneakers kept slipping off the pedals.
Key features:
- Sticky rubber soles for grip
- Stiff mid-soles
- Weather-resistant materials
- Make sure your laces are tied
When to Replace Your Gear
Safety gear doesn’t last forever. Here’s when I’d replace things:
- Helmets: Every 3-5 years or after any crash
- Pads: When padding gets smushed in or has tears
- Gloves: When palm padding wears thin
- Shoes: When tread or sole grip wears down
Pros of Quality Protection:
- It could prevent serious injuries
- You can build confidence on trails
- Often looks better than cheap gear
- Lasts longer than budget options
- Better ventilation and durability
Cons of Quality Protection:
- Higher upfront cost
- Some items take time to break in
- Wearing this in the summer can be hot
- Requires regular maintenance
- The storage space needed for all the gear

Pre-Ride Safety Check:
- Check helmet straps and the fit
- Inspect all pad attachments
- Clean eye wear lenses. Microfiber clothes work well
- Test glove grip
- Make sure your shoes are on tight
Remember, getting good gear might seem expensive, but it’s much cheaper than a trip to urgent care or the emergency room. Start with the essentials – helmet, knee pads, and proper shoes – then build your protection kit up as your skills grow. Your body will thank you later!
Need more tips about specific gear? Just keep reading. I’ve used tons of different options and would love to share what works best for different riding styles.
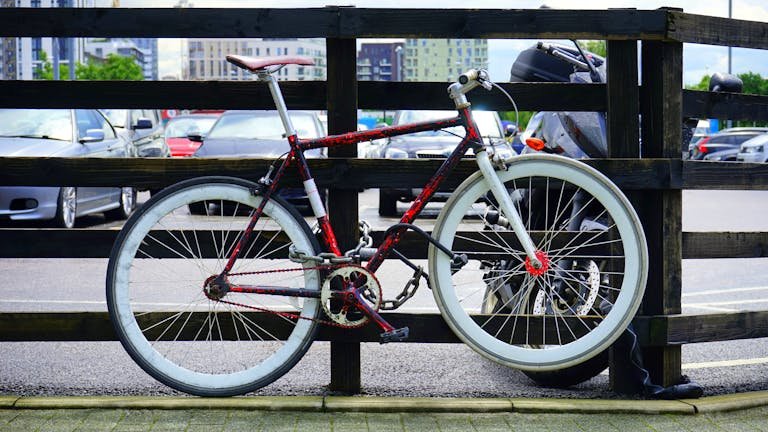
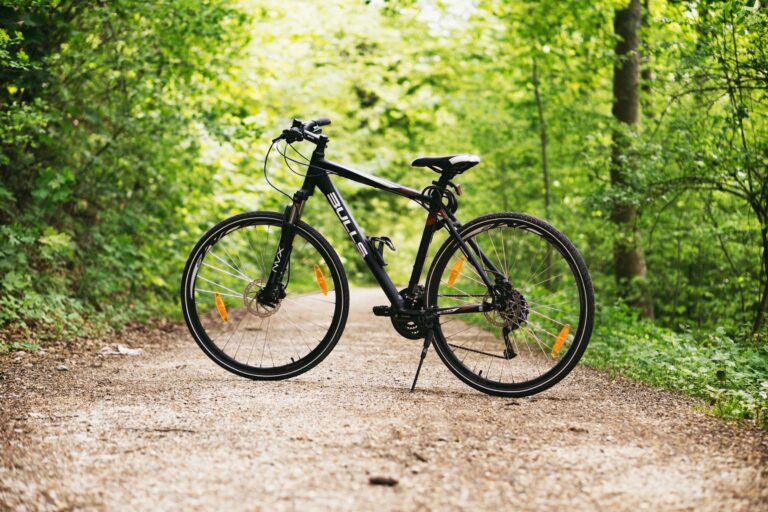
Proper Bike Setup and Maintenance
Getting Your Bike Size Right
OK Let’s talk about about my first “real” mountain bike. I thought I could just hop on and ride off, but wrong again! I’ve learned that proper setup is everything. Here’s the real deal.
A bike that fits is a bike that’s safe. When I got fitted properly, it totally changed my riding game.
Your bike should fit like this:
- Standing over the top tube with both feet flat – you need about 2 inches of clearance
- When seated, your knee should have a slight bend at the bottom of the pedal stroke
- You should be able to comfortably reach the handlebars without stretching
- Your elbows should have a slight bend while gripping the bars
Dialing In Your Suspension
I remember riding with my suspension way too stiff because I thought that was “better.” What a mistake! Here’s what I’ve learned about the suspension setup:
Getting the sag right:
- Front suspension should compress 15-20% when sitting in attack position (more on the attack position later)
- Rear suspension needs 25-30% sag for trail riding
- Rebound should be fast enough to recover but not bounce you off the bike

Essential Maintenance Checks
A broken bike on the trail can be dangerous. Try to prevent it by doing these checks before every ride:
- Check tire pressure and look for cuts or tears
- Squeeze brakes to ensure they’re firm
- Bounce the bike to listen for loose parts
- Spin wheels to check for wobbles
- Test that all bolts are tight
Tire Setup for Trail Safety
Tire setup can make or break your ride. I learned this after washing out on some wet roots.
For safe riding:
- Front tire pressure slightly lower than rear for better grip
- Wider tires = lower pressures = more traction
- Match tread to your local trails
- Replace tires when knobs start tearing or wearing down
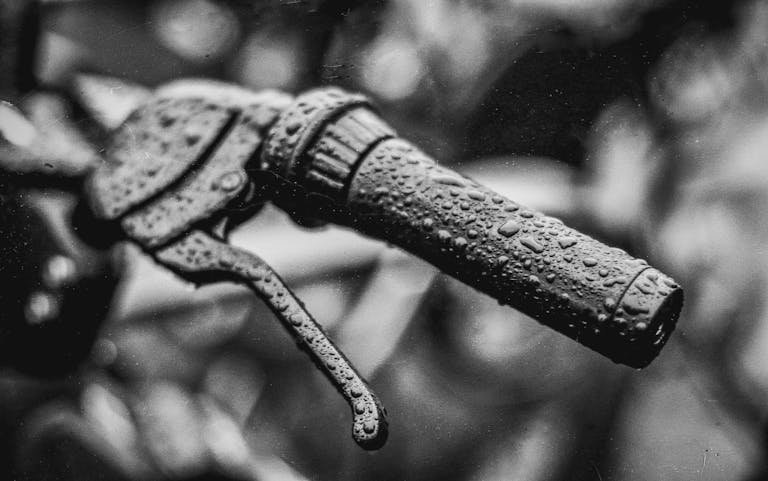
Brake System Care
Good brakes can save your life. I always make sure mine are working perfectly. You should too.
Quick brake maintenance:
- Check pad thickness monthly
- Clean rotors with rubbing alcohol
- Adjust lever reach for one-finger braking
- Replace pads before they’re completely worn
Monthly Maintenance Schedule:
- Clean and lube chain
- Check tire pressure and condition
- Inspect frame for cracks
- Test all pivot points
- Clean suspension stanchions
Remember this, a well-maintained bike is a safe bike. If you hear weird noises or something feels off, don’t ignore it! That clicking sound I once ignored? Turned out to be a loose handlebar that could have ended badly.
There’s nothing better than helping fellow riders stay safe on the trails! Be on the lookout for those in danger or in need of assistance. Small acts of kindness goes a long way.

Essential Mountain Biking Techniques for Injury Prevention
Body Position Basics
The day I learned about Mountain Biking Injury Prevention and proper mountain biking techniques it changed everything. Let me share what really works on the trails.
Your body position is your first line of defense against injuries. Trust me on this one.
Attack Position Fundamentals:
- Stand with pedals level
- Keep your arms and legs slightly bent
- Position your head up, looking ahead
- Center your weight between your wheels
- Keep your pointer fingers ready on the brake levers
Smart Braking Saves Rides
Bad braking habits can send you over the bars. You don’t want to find out the hard way!
Key braking tips:
- Use one finger per brake lever
- Brake before corners, not during
- Front brakes have more power, use them wisely
- Avoid panic braking on wet surfaces
- Keep your arms relaxed while braking
Cornering Without Crashing
Corners can be scary if you’re not careful, you can spill out. Now they’re my favorite part of riding. You can lean into them.
Corner Like a Pro:
- Look through the entire turn
- Push your outside pedal down
- Lean the bike more than your body
- Keep your inside arm straight
- Release your brakes before entering
Handling Technical Trail Features
Technical features don’t have to be scary. They just need the right approach.
Tackling obstacles:
- Scan the trail 15-20 feet ahead
- Keep your speed steady
- Stay loose – stiff arms make crashes
- Choose the smoothest line
- Commit to your line choice
Daily Practice Routine:
- Work on smooth braking
- Find a safe place to try tight turns
- Practice lifting front wheel over small obstacles
- Learn to ride straight lines slowly
Remember how I mentioned looking ahead? That’s probably the biggest point. When I started looking 15-20 feet ahead instead of right in front of my wheel, everything got a little easier and safer.
If you’re just starting to ride technical trails, don’t forget to prep before you go. Check the weather forecast, bring water and a first aid kit.

Pre-Ride Preparation and Conditioning
I Remember when I thought, just hopping on my bike and pedaling away was enough? Years of wisdom and my sore muscles taught me otherwise. Now I know better, and I’m going to share my pre-ride routine that actually works.
Dynamic Warm-Up Routine
Skipping your warm-up is like trying to start your car in freezing weather. Your body needs to get ready for action.
Quick 10-Minute Warm-Up:
- Arm circles (20 each direction)
- Walking lunges (10 each leg)
- Leg swings (15 each leg)
- Hip circles (10 each direction)
- Light jumping jacks (30 seconds)
Flexibility That Prevents Injuries
Being flexible helps you move with your bike instead of fighting it. Here’s what helps me stay loose.
Daily Stretches:
- Hip flexor stretches
- Hamstring rolls
- Lower back twists
- Shoulder stretches
- Calf raises and stretches
Fuel For Your Ride
You wouldn’t start a road trip on an empty tank. Don’t start your ride running on an empty stomach either.
Pre-Ride Nutrition:
- Try to eat 2-3 hours before riding
- Include carbs and protein
- Drink 16-20 oz of water before riding
- Pack snacks for longer rides
- Avoid heavy, greasy foods
- Eating Fruits is a great idea
Recovery Done Right
Recovery isn’t just rest. It’s active care for your body. Here’s what i do for my after-ride routine.
Post-Ride Recovery:
- Light stretching while still warm
- Drink water with electrolytes (Gatorade)
- Eat a meal within 30 minutes
- Use a foam roller for pain spots
- Rest the days between hard rides
The biggest lesson that I’ve learned was to listen to your body. Some days you need more warm-up time. Other days you need extra recovery. That’s totally normal.

Feel like stepping up your riding game? Start with these basics and build from there. Your body will thank you with better rides and fewer aches and pains!
Reading Trail Conditions
Every trail tells a story if you know what to look for. Here’s what I check before riding.
Trail Check List:
- Look for any recent rain damage
- Check for loose rocks or roots always
- Spot fallen trees or new obstacles
- Notice dusty or slick sections
- Watch for trail repairs, closures or changes
Weather Impacts on Riding
Weather changes everything on a trail. It’s always best to adapt or sometimes just head home.
Weather Guidelines:
- Wait at least 24 hours after a heavy rain
- Ride earlier on hot days
- Check wind conditions for exposed trails
- Avoid lightning risk areas
- Bring extra gear for weather changes
Knowing Your Skill Level
The best riders know when to say no. Here’s how I judge if a trail is right for me.
Trail Assessment Steps:
- Walk technical sections first
- Start with easier lines
- Build skills progressively
- Know your bail-out points
- Practice features in safe areas
Emergency Planning
Being prepared for problems makes them less dramatic. I always carry these essentials.
Trail Emergency Kit:
- First aid supplies
- Basic bike tools
- Phone with offline maps
- Emergency contacts
- Extra water and snacks
Quick Safety Checklist:
- Share your ride plan
- Check trail status
- Pack emergency gear
- Know escape routes
- Bring sufficient water
The best tip I ever got? When in doubt, walk it out. There’s no shame in getting off your bike. The trail will still be there tomorrow when you’re ready for it.
Getting ready to try new trails? Start with this checklist and add to it based on your local conditions. Safety isn’t just about avoiding crashes – it’s about riding with confidence!
Final Thoughts
Mountain biking doesn’t have to be a high-risk sport if you approach it with the right preparation and mindset. It’s important to remember, the best riders aren’t just the ones with the most skill – they’re the ones who consistently make smart decisions while riding.
Start implementing these Mountain Biking Injury Prevention strategies today, and you’ll be well on your way to countless safe and exciting adventures on your mountain bike. Ready to hit the trails? Just remember to gear up, skill up, and never stop learning!
Engage, Endure and Enjoy!
Find More Resources on Bicycles
- Smart Bike Trainers: 2024 Best Picks with Features and Benefits
- Mountain Biking for Beginners: Essential Guide to Hit the Trails in 2024
- 3 Best Mountain Bikes of 2024: Complete Buyer’s Guide & Reviews
- How Do You Adjust Bike Brakes? A Step-by-Step Guide for 2024
- Essential Mountain Bike Gear: A Complete Guide for 2024